hooks 폴더를 생성하여 useFetch 파일을 넣는다.
url 주소로 fetch해주고 데이터를 받아줌
Home.jsx
import { useFetch } from "../../hooks/useFetch";
import "./Home.css";

export default function Home() {
  const { data, isPending, error } = useFetch("http://localhost:3030/recipes"); //서버 주소
  return (
    <div className="home">
      {error && <p className="error">{error}</p>}
      {isPending && <p className="loading">로딩중</p>}
      {data && data.map((recipe) => <h2 key={recipe.id}>{recipe.title}</h2>)}
    </div>
  );
}
Home.css
.home {
  max-width: 1200px;
  margin: 50px auto;
}
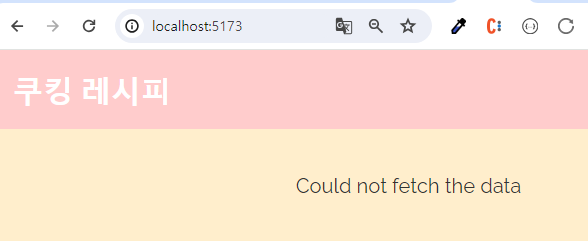
로딩은 빨라서 잘 보이지 않긴함

에러나게해봄

로딩중이 출력되고 , 에러메세지 출력

레시피를 출력할 RecipeList.jsx를 만든다
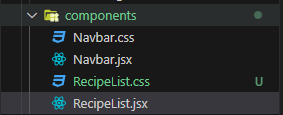
data를 RecipeList 컴포넌트로 바꾼다.

RecipeList.jsx
import React from "react";
import "./RecipeList.css";
import { Link } from "react-router-dom";

export const RecipeList = ({ recipes }) => {
  return (
    <div className="recipe-list">
      {recipes.map((recipe) => (
        <div key={recipe.id} className="card">
          <h3>{recipe.title}</h3>
          <p>{recipe.cookingTime} to make.</p>
          <div>{recipe.method.substring(0, 100)}...</div>
          <Link to={`/recipes/${recipe.id}`}>요리하기</Link>
        </div>
      ))}
    </div>
  );
};
RecipeList.css
.recipe-list {
  display: grid;
  grid-template-columns: 1fr 1fr 1fr;
  grid-gap: 40px;
  max-width: 1200px;
  margin: 40px auto;
}
.recipe-list .card {
  background: #fff;
  color: #333;
  padding: 20px;
  border-radius: 4px;
  box-shadow: 3px 3px 3px rgba(0, 0, 0, 0.05);
  transition: all 0.3s ease;
  position: relative;
}
.recipe-list .card:hover {
  transform: rotate(3deg);
}
.recipe-list .card h3 {
  color: #555;
  margin-bottom: 6px;
}
.recipe-list .card p {
  color: #999;
  font-size: 0.9em;
}
.recipe-list .card div {
  color: #555;
  font-size: 0.7em;
  margin: 20px 0;
  line-height: 1.5em;
}
.recipe-list .card a {
  color: #555;
  text-decoration: none;
  display: block;
  background: #e2e2e2;
  font-size: 0.9em;
  width: 100px;
  text-align: center;
  width: 120px;
  padding: 8px;
  border-radius: 4px;
  margin: 20px auto 0;
}
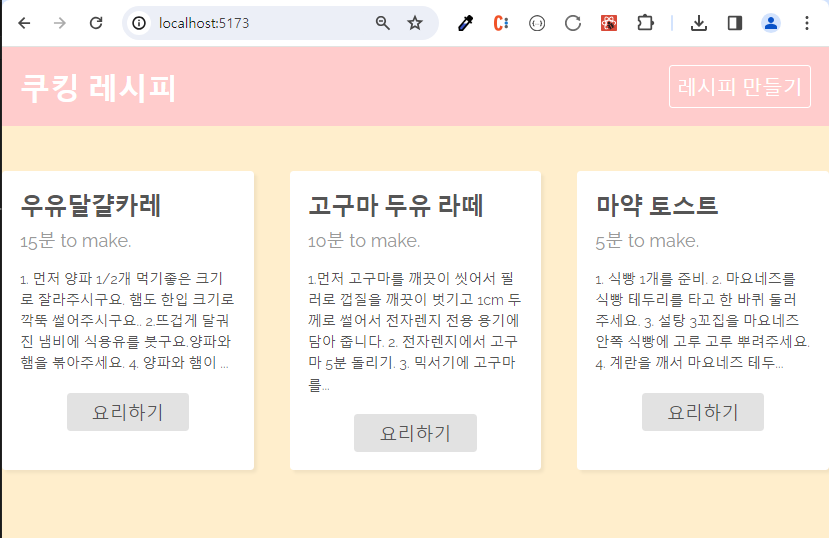
요리하기 버튼을 누르면 recipes로 넘어감
recipe페이지를 한 개의 id를 가져와서 디테일 표시하면됨
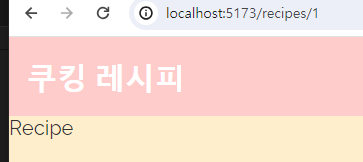

id는 파라미터로 넘어오기 때문에 useParams()로 받는다.
import { useParams } from "react-router-dom";
import "./Recipe.css";
import { useFetch } from "../../hooks/useFetch";

export default function Recipe() {
  const { id } = useParams();
  const url = "http://localhost:3030/recipes/" + id;
  const { error, isPending, data: recipe } = useFetch(url);
  return (
    <div className="recipe">
      {error && <p className="error">{error}</p>}
      {isPending && <p className="loading">로딩중...</p>}
      {recipe && <h1>{recipe.title}</h1>}
    </div>
  );
}
데이터를 recipe라는 이름으로 받겠다. 라는 뜻
서버에서도 확인해봤다. 각 id의 레시피를 잘 가져오는지
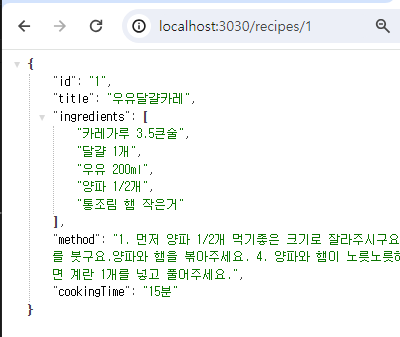
테스트하기
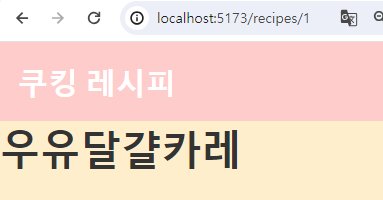
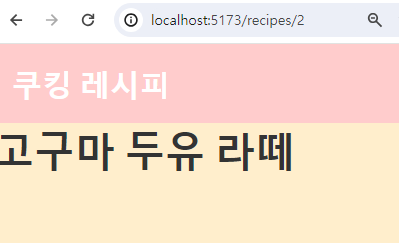
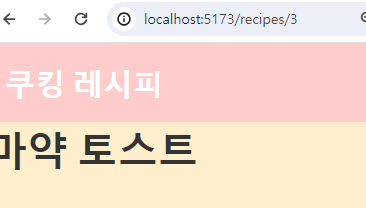
이제 각 id별 레시피를 가져오면 된다.
import { useParams } from "react-router-dom";
import "./Recipe.css";
import { useFetch } from "../../hooks/useFetch";

export default function Recipe() {
  const { id } = useParams();
  const url = "http://localhost:3030/recipes/" + id;
  const { error, isPending, data: recipe } = useFetch(url);
  return (
    <div className="recipe">
      {error && <p className="error">{error}</p>}
      {isPending && <p className="loading">로딩중...</p>}
      {recipe && (
        <>
          <h2 className="page-title">{recipe.title}</h2>
          <p className="time">요리시간 {recipe.cookingTime} 완성</p>
          <ul>
            {recipe.ingredients.map((ing) => (
              <li key={ing}>{ing}</li>
            ))}
          </ul>
          <p className="method">{recipe.method}</p>
        </>
      )}
    </div>
  );
}
Recipe.css
.recipe {
	max-width: 1200px;
	margin: 40px auto;
	text-align: center;
	background: #fff;
	padding: 40px;
	box-sizing: border-box;
}
.recipe .time {
	color: coral;
	font-style: italic;
	font-size: 1.2em;
	margin-bottom: 15px;
}
.recipe ul {
	display: flex;
	padding: 0;
	justify-content: center;
	margin-top: 0;
}
.recipe li {
	font-weight: 700;
	list-style-type: none;
	margin-right: 10px;
	color: #777;
}
.recipe li::after {
	content: ',';
}
.recipe li:last-child::after {
	content: '.';
}
.method {
	text-align: left;
	line-height: 1.5em;
}
'FRONTEND > React' 카테고리의 다른 글
| [쿠킹레시피] 검색창 컴포넌트 및 검색 결과 출력 (0) | 2023.11.24 |
|---|---|
| [쿠킹레시피] 새 레시피 생성 후 홈으로 리다이렉트 (2) | 2023.11.24 |
| [쿠킹레시피] 라우터 사용 및 네브바 컴포넌트 생성 (1) | 2023.11.24 |
| [쿠킹레시피] 프로젝트 세팅 및 제이슨 서버 설치 (1) | 2023.11.24 |
| [영화 앱 2] 인기작품, 최고평점, 예정작품 별 영화 목록 구성 및 해당 위치로 스크롤 (1) | 2023.11.22 |

